
The Site Map is central page for Mine Enterprise access where authorized users can view information via any web browser whether it be on Computer, Tablet or Mobile Phone. It allows users to view current resources, equipment positions, analyze any routes taken, and distances traveled by each equipment.The sitemap displays maps which contain one or more layers that can be viewed in different Styles.It also allows users to view, import or edit the maps. It also has the Geofence functionality which enables the users to create a geographic boundary around an area or convert a location to geofence. It also display the location which have had any productions records like drilling or blasting.
Site Map can be accessed by default after Login into Mine Enterprise web page.
Or by accessing the Mine Enterprise Feature Bar by selecting the Home icon and clicking on the Site Map Dashboard Tile.
* An over view of the Site Map and its sections.
The Site Map Toolbar hold the navigational tools for the map functions.
You can chose from a selection of Map Layer Themes to render the globe, these include:
Blank Theme
For when you wish to display and review your uploaded DXF site wireframes without having the map details get in the way.
| Button | Description |
|---|---|
|
|
It allows you to view a blank map mode. |
Example:
![]()
*Click to enlarge
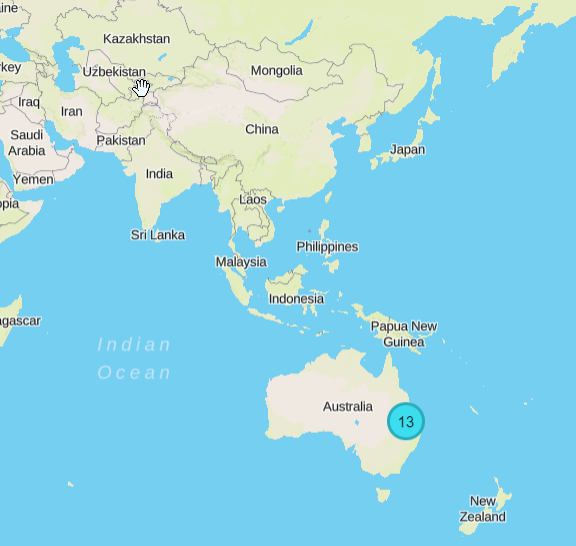
Street View Theme
For when you wish to view the global and local street view data
| Button | Description |
|---|---|
|
|
It allows you to view the map in street mode. |
Example:
*Click to enlarge
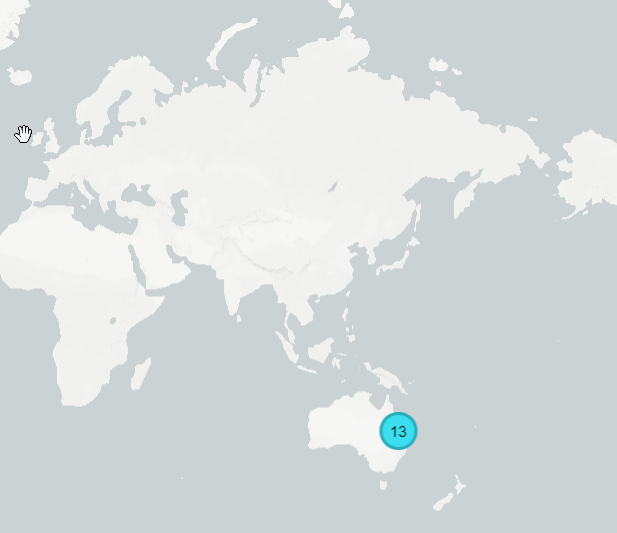
Light View Theme
| Button | Description |
|---|---|
|
|
It allows you to view the map in a light minimalistic mode. |
Example:
*Click to enlarge
Note:This map theme will change based on the Web Apps global theme. (Light/Dark).
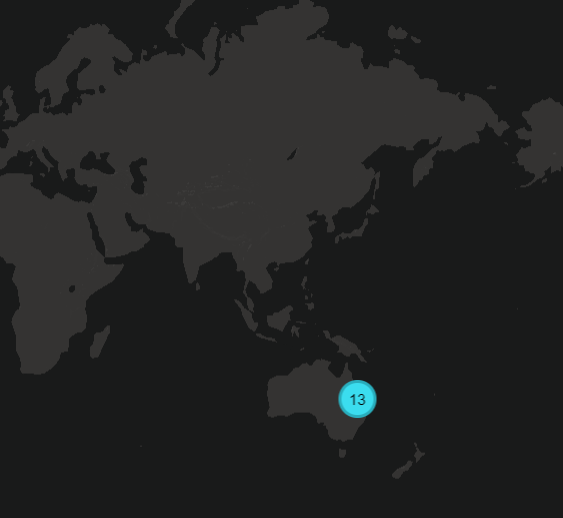
Dark View Theme
| Button | Description |
|---|---|
|
|
It allows you to view the map in a dark minimalistic mode.
|
Example:
*Click to enlarge
Note:This map theme will change based on the Web Apps global theme. (Light/Dark).
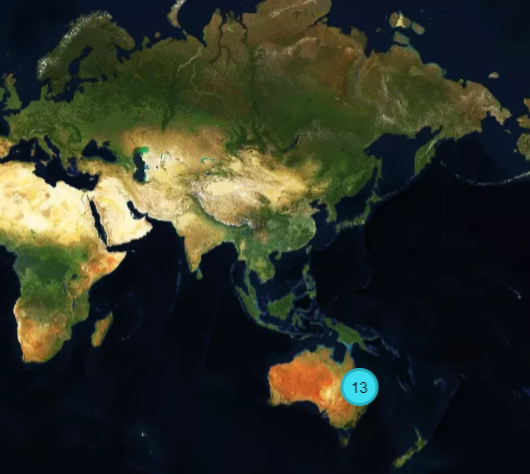
Satellite View Theme
| Button | Description |
|---|---|
|
|
It allows you to view the map in a detailed satellite image mode.
|
Example:
*Click to enlarge
Flyover Button
| Button | Description |
|---|---|
|
|
Will render the uploaded flyover images of the Map Layer
|
Example:
PLACE HOLDER
Map Zoom In and Out Buttons
| Buttons | Description |
|---|---|
|
|
The magnifying glass icon with the plus sign (+) will zoom you in to the focus point on the map. The magnifying glass icon with the minus sign (-) will zoom you out of the focus point on the map.
|
Note: You may also use your mouses scroll wheel to do so, or on touch screen devices, use a two fingered pinch motion.


The Resource Title displays what Tab you have selected and what resources are being shown in the Resource Tiles.
The Tab button is to switch between Resource Options. Currently there are tabs for the Map Layers and for Resource/Equipment used on the mining sites.
The Search Bar allows the entering of letters or numbers associated with the displayed tile list and display a narrowed list of tiles based on the users input
This button will open a new window (Modal) that will offer the user options for uploading a DXF file creating a new Site Map Layer.

Header for the New Site Map Window (Modal)

This displays what pop up window/modal you are currently viewing and what its relationship is with a topic.
Clicking on the 'x' will cause this pop up window (modal) to close, returning you back to the Site Map View.
This is where you will select your DXF file for uploading, after selecting the appropriate ESPG Code for the file.
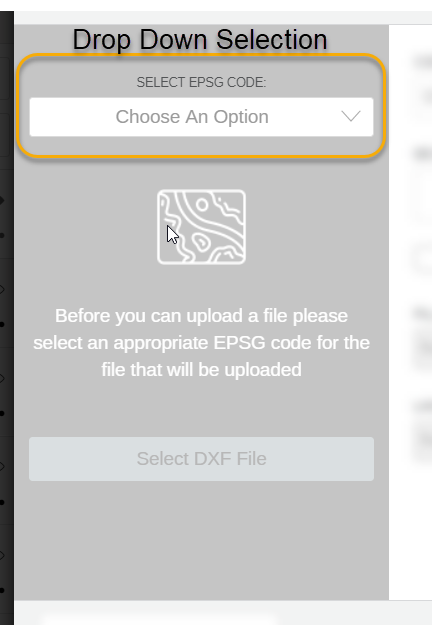
Using this drop down list to select a relevant EPSG code that the DXF file was constructed for.
Once you have selected an EPSG code, the Panel willl change and allow some new selections.

If at this point you wish to change which EPSG code you are uploading for,
then you can make this change now.
If you have a file explorer open with the DXF files, you can drag them into this panel for auto upload.
Note: Currently this feature has been removed temporarily, you can still upload a DXF file by selecting the Save DXF File Button.
Click on this button to open up your file selection screen to find the DXF File stored in your device.
Once uploaded, the Site Map Details area of the window (modal) will update with relivant coordinate positions and offer some customizable options for the user to select and input.
Note: Depending on the size of the DXF file, this uploading process can take some time. Please wait until the Site Map Details area has shown the update of the coordination details.

To set a default Site map that will be zoomed into the moment Site Map view has been loaded, the user will need to set the Tickbox as Active (clicking so that a tick appears).
A user has 2 options to set a Default Site Map.
1.) Access the edit Map Layer window (modal) by selecting the chosen Map Layer from the Left Sliding Panel, clicking on the details icon ('...'), followed by selecting the "Edit" Button.
This will display a new window (modal) that will show the options detailed by the screen shots above.
2.) A user can set a new default map layer during the Create a New Map Layer steps. On the Create New Map Layer window, there will be the same option as the above screenshot.
Once this tick box has been activated (Note. Only one may be active at a time and selecting a new default will cancel out the previous selection.)
Any time the user selects the Site Map View, The user will be zoomed in on the default Site Map automatically.
The user may enter/modify a user defined Code for this Map Layer that will be displayed on the Map Layer Tile in the Left Sliding Panel.
The user may enter/modify a user defined Description for this Map Layer that will be displayed on the Map Layer Tile in the Left Sliding Panel.
Allows the user to specify which selectable levels that are allowed to be viewed by default.

The footer features are a Cancel button to allow the user to close the window and a Save Map Button to confirm and save this new Map Layer.
These tiles represent each Map Layer that has been uploaded and display by their user defined Code and Description. Each Tile in the Map Layer Resource Panel will offer additional features,
such as; Visibility button, Focus button and a Details button. A Tile with a grey background has had its visibility turned off and will not show up on the map, alternately a Tile with a white background
has its visibility toggled on and will be visible on map.

*Example of a visibly active tile (bottom) and a visibly deactivated tile (top)
This is the user defined Code that has been entered for this Map Layer. This is editable by a user by entering the Details screen (Accessed by clicking on the Details button '...') and selecting the "Edit" option.
Like the Code, this is a user defined field which has been entered to describe any extra details for the Map Layer that wants to be displayed in the Tile.
| Button | Description |
|---|---|

|
Visibility Icon Active - If this is bold, the tile will have a white background to show this tile as active. You will be able to see this Map Layer displayed on the Map. |
|
|
Visibility Icon Deactivated - If this Icon is showing, the tile will have a gray background color to show this tile as being deactivated and not displaying on the Map.
|
| Button | Description |
|---|---|
|
|
This Focus Icon when selected will zoom you in on the map to the coordinates provided with the DXF file and show you the site's wire frame.
|
The Search Bar allows the entering of letters or numbers associated with the displayed tile list and display a narrowed list of tiles based on the users input.
Clicking on another tab will change the Panel to display the information associated with the tab you have clicked on.
Note: If you hover your mouse pointer over the Tab, you will see a pop up message informing you of what the tab subject matter is.

The Resource Tile is tied to the Map and the Right Side Sliding panel to give live up to date data of the resources on the Mine site.
This tile is to give the user the ability to view resource related data, check on when the last updated position time has been, view on the map and zoom in to the resources location.
The Icon is representative of the resource type and this information comes from the database, EquipmentType table. If the equipment type has an associated Icon for that type, then the Icon
will be generated in this tile. If there has been no Icon created for that specific equipment type, then it will be generated with the default Icon.
| Button | Description |
|---|---|
|
|
Default Equipment Icon. Each Icon has 2 versions, a colored version to represent Active resources and a black and white Icon to represent Inactive resources |
This is the Database specified Code that has been created for the Resource specified on the tile. On the Database, this comes from the Equipment table.
Note:This field can be updated on the Silverlight legacy website via MiFleet>Manage Equipment> ... Selection of an equipment type. 
This is the Database specified Code that has been created for the Resource specified on the tile. On the Database, this comes from the Equipment table.
Note:This field can be updated on the Silverlight legacy website via MiFleet>Manage Equipment> ... Selection of an equipment type.
This displays a number of dots to indicate how long ago the GPS data for the specified Resource has updated information from the Database. The number of Dots and how long ago to monitor is updatable within the Module Configuration section (Module: 'EquipmentAnalysis, Key: 'AgeIndicatorThreshholdSeconds').
When a Resource has gone over time limit (no more dots displayed) Then the Resource will no longer be displayed on the map and the Resource Tile will update to be no longer Visible (change of Visibility Icon to off/grayed out)

This Icon is set by default by the Database, the Equipment Table has an Active Field which grants it a default value.
| Button | Description |
|---|---|
|
|
Visibility Icon Active - If this is bold, the tile will have a white background to show this tile as active. You will be able to see this Resource displayed on the Map. |
|
|
Visibility Icon Deactivated - If this Icon is showing, the tile will have a gray background color to show this tile as being deactivated and not displaying on the Map.
|
Note:This field can be updated on the Silverlight legacy website via MiFleet>Manage Equipment> ... Selection of an equipment type.
| Button | Description |
|---|---|
|
|
This Focus Icon when selected will zoom you in on the map to the coordinates last updated for that resource.
|
Clicking on this icon will change the panel to display the Resource Details
| Button | Description |
|---|---|
|
|
Selecting this Icon will change the panel to display the Equipment Details information.
|
This Panel is to display the user with a more detailed presentation of Resource details, from Resource type, model, fleet to Operator details, current activity and last known update time and date.

These Buttons are used for a quick switch on of all resources or a quick switch off of all resources on the map.
The Right Sliding Panel is used to control the filters for the Map and Left Side Sliding Panel displays. On this Panel you can specify each Resource type that you want to focus on, or choose to display all Resource types.
The Filter is tied directly to the Left Sliding Panel and related to the Map display.

The Tab is used to switch between options available on the Right Sliding Panel. If you hover your mouse over the Tab, the Tab type will display.
Tab Title displays which Tab is currently being displayed
Within the Filters Tab there are expandable subject Tiles which display the various filters available.
The above image shows an expanded Filter list of "Resources" which is the Parent tile, underneath the Parent Tile is the related Children Tiles associated with
the Filter Type.
On the Filter Type Tile, there is a Tick box icon that when active (Ticked) will select all Child Tiles and activate them. If the user unticks this box, all Child tiles will be unselected
and no longer display on the Left Side Sliding Panel.
Note:The Parent Tile Tick Box is directly connected to the Left Sliding Panel. Any Ticked Child Tiles will appear on the Left Sliding Panel.

Selecting a Filter type resource on the Right Sliding panel (Step 1), will result in the update of the Left Sliding Panel Resource List. This then updates the Map to display Resources from the Left Sliding Panel that are
currently Active.

Unselecting a Filter Tile from the Tick Box will result in the update of the Left Sliding Panel Resource list with the removal of any Resources that are of the removed Filter Type.
This will then update the Map to remove any of the Resources that are no longer being displayed in the Left Sliding Panel.
This Icon will collapse or expand all the Children Tiles associated with the Parent Tile. In the Screen shot above, The Parent Tile is Resources and the Children are all the Equipment Types.
The Resource Tiles in the Right Sliding Panel are split into 2 groups. 1. The Parent Tile; The Parent Tile is a Filter Category that holds Children Tiles bellow it that can be filtered.
2. The Children Tiles; The Children Tiles represent all the different types that can be filtered. Selecting the Tick box will active the filtering (Allowing it to be seen on the Left Sliding Panel and on the Map).
Removing the Tick will cause the removal of the filtered type from the Left Sliding Panel causing it to be removed from the Map as well.
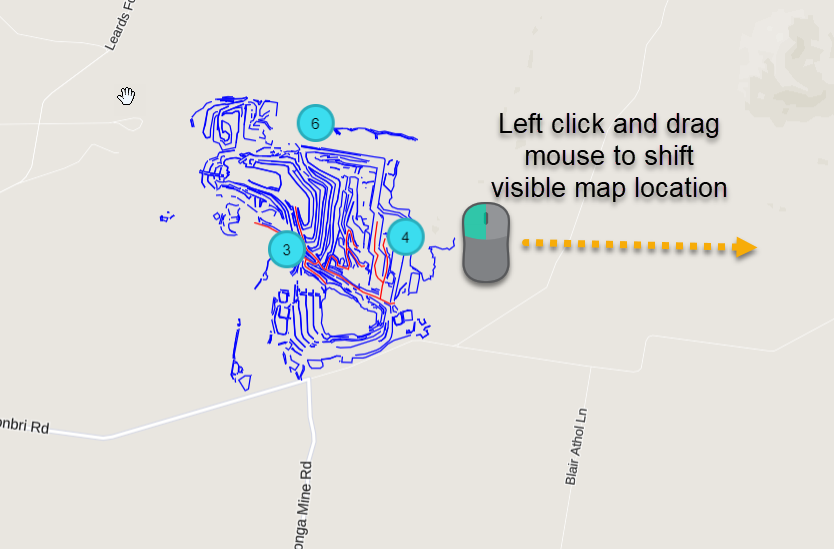
The Map is a user interactive environment that gets updated with Mining Site DXF outlines and Resource locations (Live or Historical). The user can interact with the map depending on the technology they are
viewing the interface on. From a Computer, the user can click the mouse buttons to interact with the map by holding and dragging to shift the view of the Globe being displayed.
Its displayed behavior is dependent on the what is currently visible within the Left Sliding Panel which is also updated by the Right Sliding Panel Filters.
The ability to move around the Map is device dependent.
With Mouse, the left click and hold will allow the user to drag the displayed location in which ever direction they move the mouse.
With Touch devices, a single finger touching and held down allows the moving of the map..
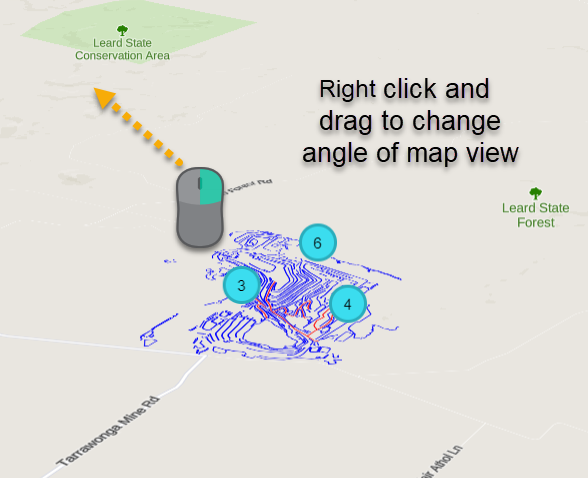
Using the Right Mouse button, the angle of view for the map will be changed.
Note:Currently the DXF files are a flat wire frame of the Mining Sites, as such the Angle of viewing does not currently show depth. This feature will be supported in a future update.
To zoom in to a location in the Map, you have several options.
1. Using the Site Map Toolbar Navigation buttons found in the top right.
| Buttons | Description |
|---|---|
|
|
The magnifying glass icon with the plus sign (+) will zoom you in to the focus point on the map. The magnifying glass icon with the minus sign (-) will zoom you out of the focus point on the map.
|
2. Using the Mouse Scroll Wheel.
![]()
3. Using a touch device and pinching or pushing apart with two fingers.
![]()


